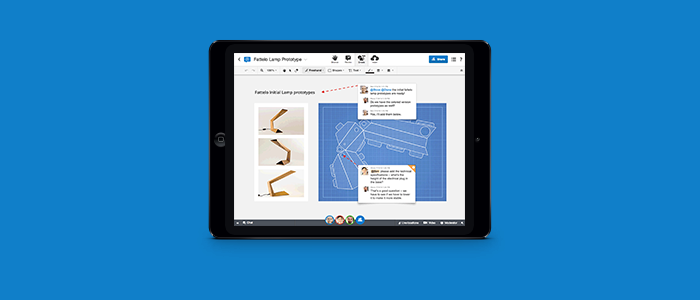
Conceptboard on your tablet is great for when you’re on the go and need to review content away from your desk. We have optimized the web version for the iPad, so you can open your boards directly in the tablet’s browser! Read on for some of our tips on how to get the most out of Conceptboard when using a tablet.
1. How to navigate on the iPad
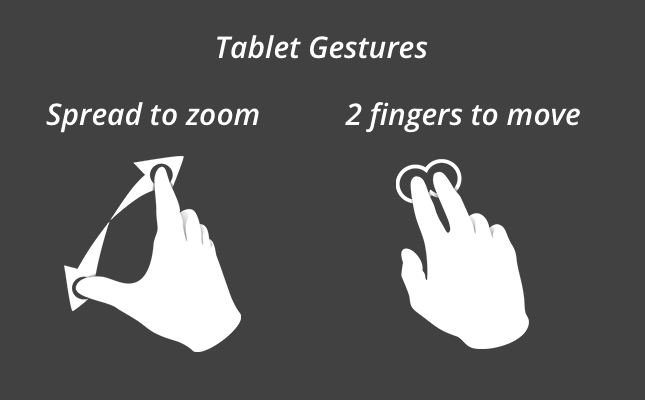
You can move on boards by using two fingers or touch points to drag the board, no matter the tool mode you are in, and use a pinch or expand gesture to zoom in and out of the board.
To quickly find and navigate to different comments or tasks in the board, use the board summary located on the upper left side of the board.
2. Adding content to the board on the iPad

You can use the Insert tab to take a photo or add an existing image to the board. You can only upload pictures, not document files, from your iPad. If you need to access any of the files that have been attached to the board, click on the board name and choose Downloads and Exports. In the downloads dialog, click and hold the file you would like to open and choose open in the new tab.
3. Using the eraser tool
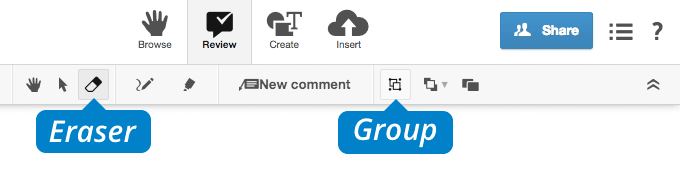
We’ve added an eraser tool for when you need to remove content from the board while working on the iPad. It’s best if you zoom in to the board to make sure you don’t accidentally delete other content, but if you make a mistake just hit the undo arrow to bring back an object on the board. To quickly delete entire sections, zoom out and use the select tool to select everything you want to erase, then click the group icon. You can now use the erase tool on the entire grouped object.
4. Text Boxes, sticky notes and headlines
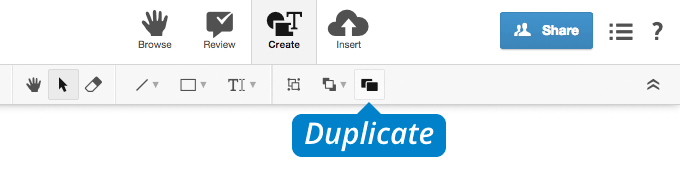
When adding a sticky note, text box, or headline you can click and drag to the desired length. While in a tool mode, click once inside a selected note to bring up the keyboard. When you’re done writing, hit the keyboard down to exit writing mode. You can directly click and drag to create another note after exiting writing mode. To quickly create lots of sticky notes, use the duplicate icon in the toolbar. You can even select several sticky notes at a time when duplicating.
You can select multiples of the same kind (sticky notes, not sticky notes and text boxes) to change the font or colors at the same time.
When in browse mode, you can click on any editable object (comments, sticky notes, text boxes, and headlines) to display the edit option. Click the edit text to switch to editing.
5. Freehand scribbling on a board
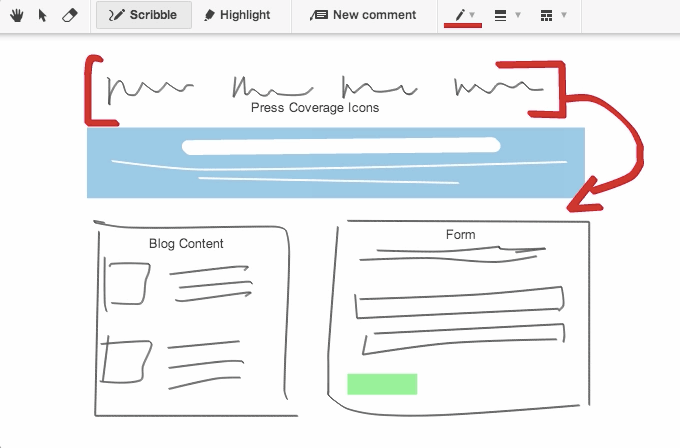
For the smoothest writing, use a stylus and check your zoom level when using the scribble tool–depending on your tablet you may have a better performance if you zoom in between 100-200% percent. The scribble tool automatically creates one object from the moment you start scribbling to when you stop or lift the stylus from the surface. You can select a scribble and resize, change the color or line width.
When using the scribbling tool, the user experience depends very much on the internet speed and the computer or tablet being used. Also, please make sure your browser is up to date!