Low-fidelity prototyping made simple with Conceptboard
Low-fidelity prototypes are simple sketches of an idea. They allow you to test the user interface (UI) while high-fidelity prototypes involve creating a basic version of the actual product, and better allow you to also test the user experience (UX).

What is a low-fidelity prototype
Low-fidelity prototypes are basic representations of concepts that help us to validate those concepts early on in the design process, before investing too much time or money. Simple prototypes focus on the concept without getting distracted by minor details such as appearance and style.They are generally not interactive, but present the design ideas as a workflow.
While prototyping has been around forever, it’s gained popularity as an iterative tool thanks to the rise in agile principles such as design thinking and lean startups. Low-fidelity prototyping tools can be used across a range of design applications, from graphic, application, web design(wireframes), user experience (UX) and service design. In this post we delve into the various elements of low fidelity prototyping and showcase how to create great, testable artifacts with a free low fidelity prototyping tool like Conceptboard.
Advantages of Low-fidelity prototyping on Conceptboard
Low-fidelity prototypes are simple sketches of an idea. They allow you to test the user interface (UI) while high-fidelity prototypes involve creating a basic version of the actual product, and better allow you to also test the user experience (UX).
In most design instances it’s best to begin with the absolute minimal low-fidelity model and build your way up, iterating as you go.
Designers start with low-fidelity prototypes for the following reasons:
Collaboration
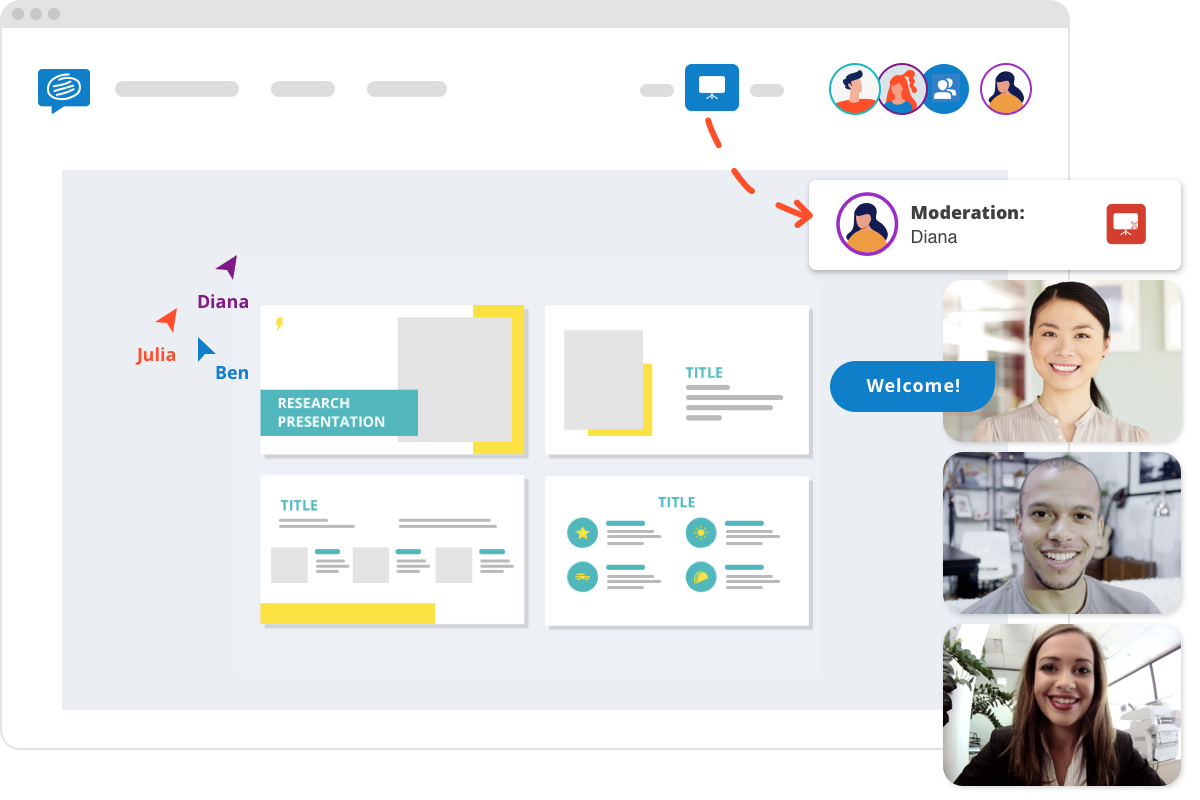
Most designs are a team-effort, so low-fidelity prototyping is a great way for teams to collaborate on an initial idea. This process allows all team members to contribute, while ensuring everyone is on the same page from the beginning of the project. It’s also a great way to explain complex ideas through visualization. Feedback, ideas and changes can be taken on board and implemented immediately, without risk.
Iteration
Due to the low initial investment of time and money to create low-fidelity prototypes, it’s so much easier to regularly iterate and adopt changes. As opposed to high quality models or physical products that need official change requests or involve multiple people, making changes to simple prototypes can be as simple as creating a new drawing or adding in some extra wireframes.
Everyone can create low-fi prototypes
Low-fidelity prototypes are a great way to democratize design! These can sometimes be as simple as sketches on a board, meaning they can be easily built by individuals and teams with little or no technical skills. This allows costs to stay low, and means anyone can create a prototype, regardless of job title or tech skills. With low barriers, low-fidelity prototyping is a low risk way to initially test an idea.
Similarly it costs much less to make changes during the development stage than down the track once the product is in production.
Gather feedback

Building a low-fidelity prototype allows you to quickly gather user feedback enabling you to visualize and solve core issues related to the product’s usability and proposed functionality. It’s focus is not on the intricacy of the model, but about the conversation and momentum it generates about the future product. A great example of this is wireframes that are created when designing a website or an app.
This basic core product gives a good overview of the function and purpose of the product, without distracting the reviewer with minor details. Research suggests that rapid prototyping should be able to solve around 80% of all major interface issues.
Presentation
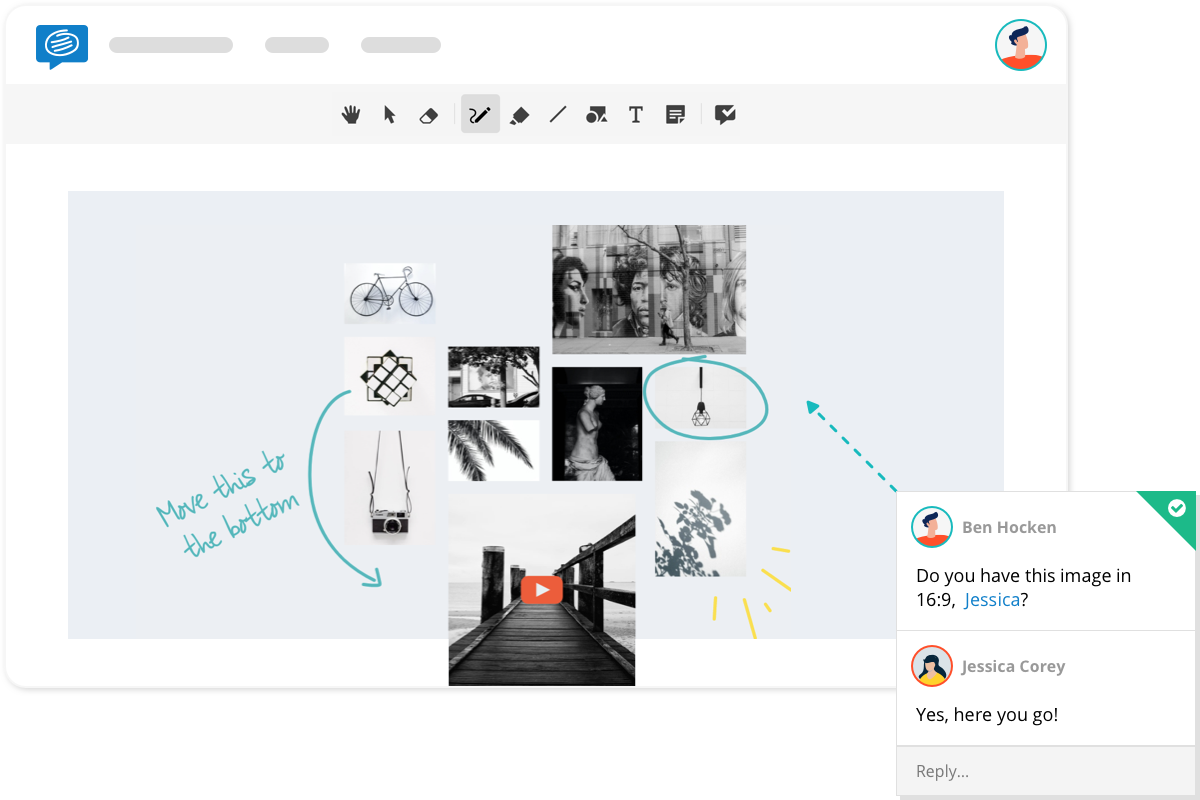
Sketching out a low-fidelity prototype on a virtual board is the easiest way to introduce the idea to customers and stakeholders, regardless of location. Housing low-fidelity prototypes online liberate you from the burden of location and portability requirements, while still allowing users to easily understand the flow of the design. Conceptboard’s editing tools allow users to scribble on the board, share notes, place sticky notes and give feedback easily without the need for physical paper printouts.

How to use Conceptboard for Low-Fidelity Prototyping
Conceptboard’s virtual whiteboard is the perfect tool for creating your low-fidelity prototypes thanks to it’s real-time collaboration features, limitless board size, and built in sketching tools, shapes and icons. This step-by-step guide explains how to best use Conceptboard for your prototyping.
- Define what you want to achieve by creating the prototype, and who you want to share it with at the end.
- Set up a meeting time for your team and invite them to join a board on Conceptboard.
- First decide on the pages you need, then work out what purpose each page serves. The pen tool is great for sketching, shapes can replicate i-frames or text boxes, text can be added for headings or buttons, and share and arrows can be used to show the customer journey. Keep it simple, removing any elements that are not necessary for the functionality of the page.
- Optionally, using Conceptboard’s section feature allows you to replicate individual screens, and allows you to replicate the flow of pages. This can be used in a focus group setting, presented to large groups, or sent out to beta users for feedback.
- Test and evaluate. Share the link to the board with others and start gathering feedback. You can change the access level for contributors under the Share button.
- Collect feedback, make changes, and repeat. After each major change, test, gather feedback and test again.
Once you’ve created a low-fidelity prototype your key stakeholders are happy with, you can move onto creating a high-fidelity prototype or a minimum viable product.
Effective remote design thinking
Get your distributed team on the same page and craft innovative solutions across locations with Conceptboard
Prototyping is a key step in the overall Design Thinking process, read more about it on our blog. If you want to check out how Conceptboard can take the stress out of your remote collaboration, try it out now.

